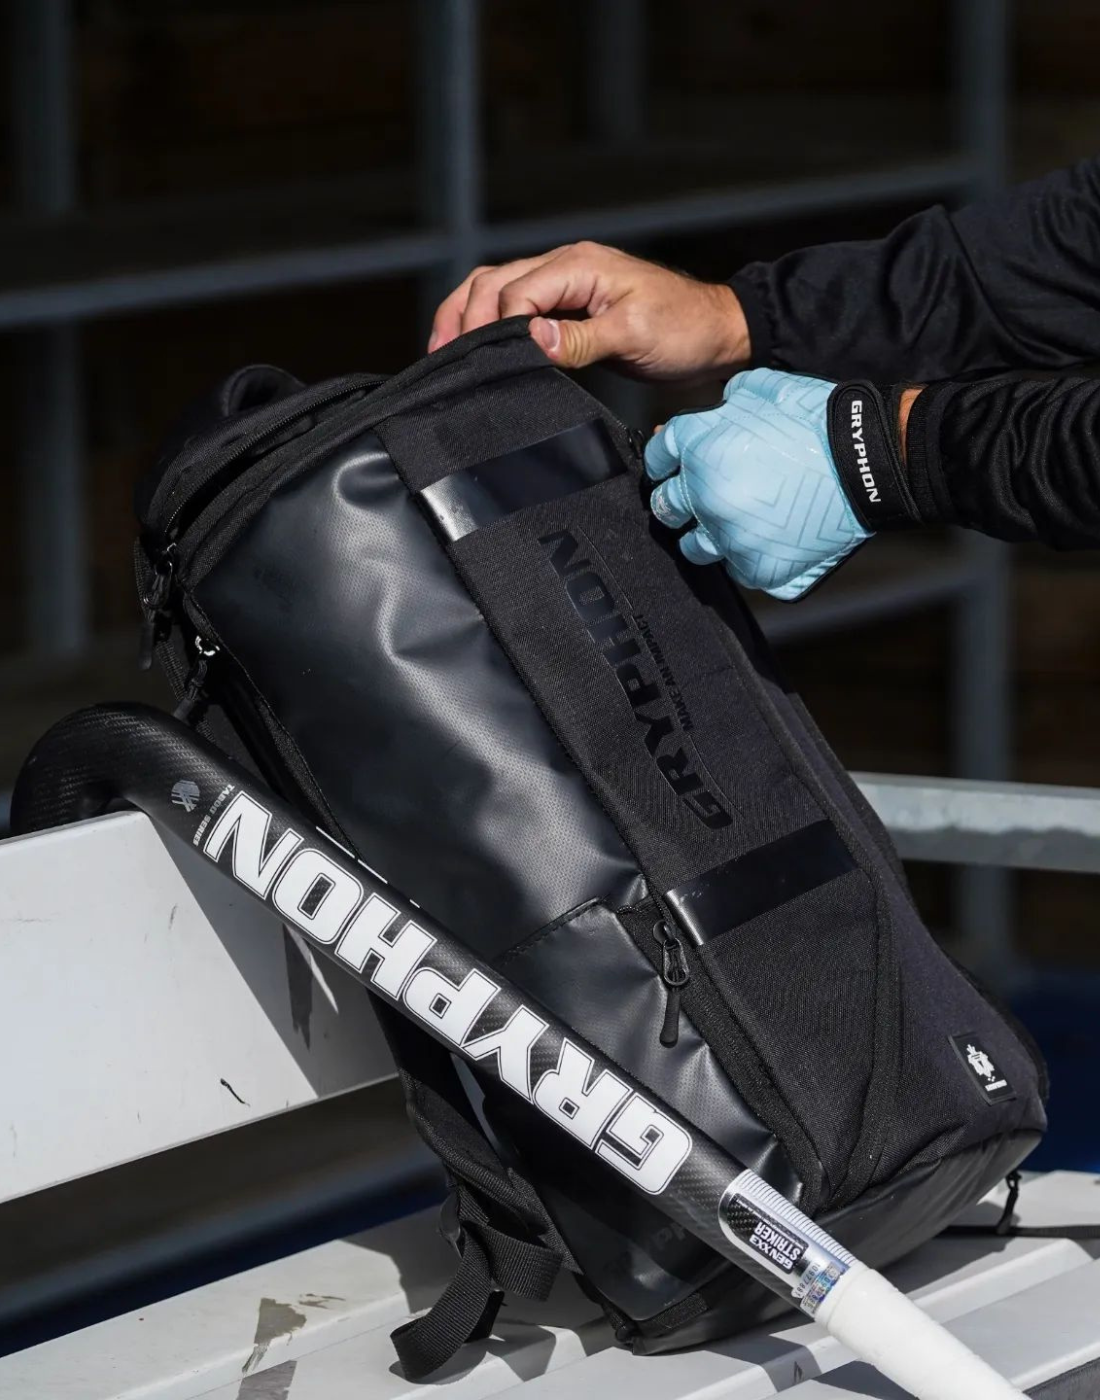
Replacement Grips are the perfect accessory when you are needing to either upgrade or replace your current grip that is on your hockey stick. There are two reasons you would use a replacement grip, you would get one if you either are not happy with the grip that is on your current stick or if the grip on your current stick is coming off.
Picking the right Replacement Grip
There are so many types of replacement grips that you can use. From thicker cushioned grips to thinner grips similar to the standard grips on hockey sticks.
What You Will Need To Put A Replacement Grip On
- Your Purchased Replacement Grip
- Scissors
- Hockey Binding Tape or PVC Tape
How To Put A Replacement Grip On
We would always suggest starting your replacement grip from the middle of the stick (bottom of the original grip or were your right hand sits when playing) and wrap the replacement grip towards to end cap of the hockey stick.
First thing you need to do is remove the old grip that is currently on your hockey stick. You might need to use some scissors to get it off correctly!
Before you start the best thing to do is a dry run with your new replacement grip. So don't remove the protective backing so the grip doesn't stick to the shaft of the stick, just so you don't come up short when you have the grip sticking and waste your new replacement grip!
Starting From The Bottom Of the Hockey Stick Grip
Now that you have done the dry run of your Replacement Grip, its time to do it for real!
- Cut two strips of binding or PVC tape to attach the grip to the hockey stick.
- Take the angled end of the grip and peel a section of the protective cover. Place the angled end of the grip at the middle of the stick shaft or where the original grip was.
- Overlap the grip over the angled part of the grip to ensure the replacement grip has a strong base.
- Continue to wrap the replacement grip up the shaft of the stick, being careful to slightly overlap the grip each time to make sure the grip stays on throughout its use.
- Once you reach the top of the hockey stick continue wrapping the grip over the end cap. Use your nail to mark where the grip meets the end cap, this is to show where you need to cut.
- Unwrap the replacement grip slightly so that you can now use your scissors to cut the grip where you marked. Make sure you do this at an angle just like the bottom of the grip.
- Use the tape you cut earlier to bind the top and bottom of the replacement grip to the hockey stick.
How Long Should A Replacement Grip Last?
Replacement grips utilize strong double sided sticky tape to hold the grip to the hockey stick shaft. Due to this we have found it difficult to give a specific answer to this. We would suggest that you replace the grip once the grip either starts 'slipping' which is when the grip starts to move either rotating or sliding down the stick or when the grip is no longer providing you the grip you need to preform at the best of your abilities.
Too Long Too Read, Summary
- You have to choose your ideal hockey replacement grip, either the thicker cushioned grip or the slimmer standard grip.
- Do a dry run of putting your replacement grip on, just so you don't waste your new shiny grip!
- When you are ready to do it for real you want to start at the middle of the stick (where the old grip started)
- Use the angled end of the grip to start.
- Wrap the grip up the shaft of the stick with a slight overlap each time.
- Mark the grip where the replacement grip meets the end cap and cut this point at an angle.
- Add the tape top and bottom to bind the replacement grip to the stick.
- Replace the grip when either the grip is no longer providing you the grip you need or when the grip starts to 'Slip'
Still Too Long Too Read, Here Is A Video
Video Coming Soon!


